Manual Air Vents: A Comprehensive Guide
Manual air vents are essential components in hydronic systems, facilitating efficient heat transfer by removing trapped air; a complete line is now available.
What are Manual Air Vents?
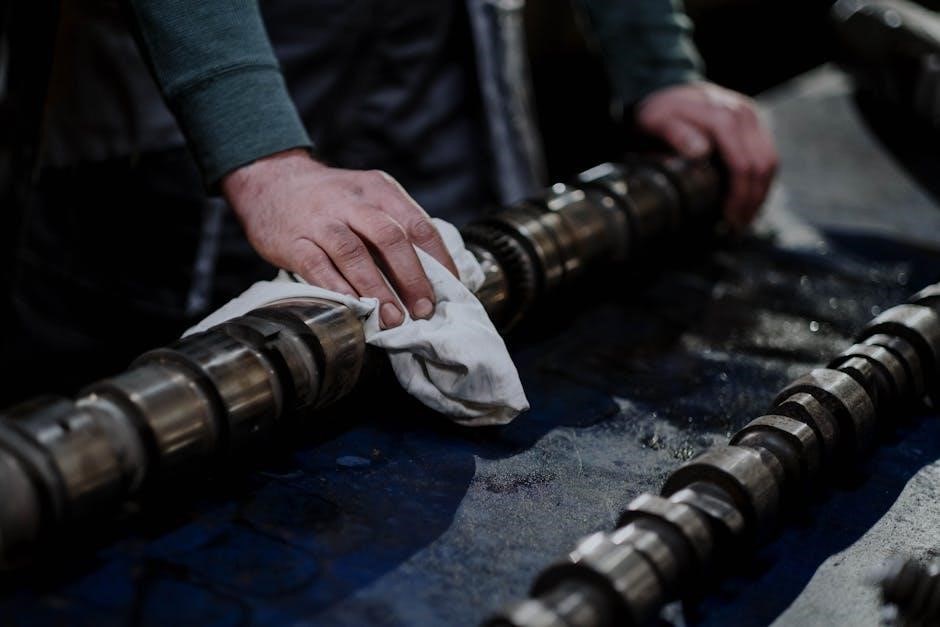
Manual air vents are mechanical devices designed to release trapped air from hydronic heating and cooling systems. Unlike their automatic counterparts, they require manual operation to bleed air, typically using a key or screwdriver to open a valve. These vents consist of a body, often made of brass or plastic, with a threaded connection for installation into the pipework.
Internally, a silicone rubber obturator prevents water leakage while allowing air to escape. They are a cost-effective solution for removing air, which can cause reduced system efficiency, noise, and corrosion; Available in various connection sizes – 1/8″, 1/2″, and 3/4″ – manual vents are a staple in both residential and commercial applications, ensuring optimal system performance.
The Purpose of Air Vents in Hydronic Systems
Air vents, both manual and automatic, are crucial for maintaining the efficiency of hydronic systems. Trapped air creates airlocks, hindering water circulation and reducing heating or cooling capacity. This leads to cold spots, increased energy consumption, and potentially damaging pump cavitation.
Vents provide a pathway for air to escape, ensuring consistent fluid flow throughout the system. By releasing air, they prevent corrosion caused by dissolved oxygen and minimize noisy operation. Manual vents specifically require intervention to release accumulated air, offering a simple yet effective method for air removal in closed circuits, like those found in solar heating systems, and maintaining optimal performance.
How Manual Air Vents Differ from Automatic Air Vents
Manual air vents necessitate manual operation – a technician or homeowner must physically open the vent to release trapped air. They typically feature a lever or cap that, when opened, allows air to escape until water emerges, then is closed again.
Automatic air vents, conversely, operate independently. Utilizing a float mechanism, they automatically vent air when present and seal when water fills the chamber. While automatic vents offer convenience, manual vents provide a cost-effective solution and visual confirmation of air bleeding; Manual vents often incorporate anti-rotation and anti-vibration systems for durability.

Types of Manual Air Vents
Manual air vents come in diverse materials, including robust brass body options and more economical plastic body designs, with varying threaded connection sizes.
Brass Body Manual Air Vents
Brass body manual air vents represent a durable and reliable solution for removing air from hydronic heating systems. Constructed from high-quality brass, these vents offer exceptional resistance to corrosion, ensuring a long service life even in challenging environments. They typically feature a 1/4″ or 3/8″ threaded connection, making them compatible with a wide range of pipework.
The internal design incorporates a silicone rubber obturator, which effectively seals the vent when air is not being released, preventing water leakage. Many brass vents also include an anti-rotation and anti-vibration system, further enhancing their longevity and performance. Their robust construction makes them ideal for both residential and commercial applications where dependability is paramount. These vents are a cost-effective and long-lasting choice for maintaining optimal system efficiency.
Plastic Body Manual Air Vents
Plastic body manual air vents offer a lightweight and cost-effective alternative to brass models, suitable for applications where corrosion is less of a concern. While not as robust as brass, modern plastic formulations provide good resistance to many common heating system fluids. These vents are commonly available with 1/8″, 1/2″, and 3/4″ threaded connections, ensuring compatibility with diverse piping setups.
Like their brass counterparts, plastic vents utilize an obturator – often made of silicone rubber – to seal against water leakage when the system is fully bled. They are particularly well-suited for solar heating systems, where their resistance to glycol-based fluids is beneficial. Plastic vents represent a practical solution for budget-conscious installations and offer ease of handling during installation and maintenance.
Threaded Connection Sizes (1/8″, 1/2″, 3/4″)
Manual air vents are readily available with standardized threaded connections to ensure compatibility across a wide range of hydronic piping systems. The most common sizes include 1/8″, 1/2″, and 3/4″ – representing the National Pipe Thread (NPT) diameter. A 1/8″ connection is often sufficient for smaller residential systems or individual radiator bleeds.
Larger systems, or those with higher flow rates, typically benefit from the increased capacity of 1/2″ or 3/4″ vents. Selecting the correct size is crucial for effective air removal; undersized vents may become clogged, while oversized vents can be unnecessarily bulky. Proper sealing tape or pipe dope must be used during installation to prevent leaks at the threaded connection, regardless of the size chosen.
Applications of Manual Air Vents
Manual air vents find use in residential, commercial, and solar heating systems, plus DIY automotive AC rear vent installations for improved comfort.
Residential Heating Systems
Manual air vents are crucial in residential heating systems, particularly those utilizing hydronic (water-based) heat. These systems, including radiators, baseboard heaters, and radiant floor heating, can trap air bubbles during initial filling or due to dissolved gases within the water. This trapped air impedes efficient heat transfer, leading to cold spots and reduced system performance.
Strategically placed manual vents allow homeowners to easily bleed air from the system, restoring optimal heating. Regular bleeding, especially at the beginning of the heating season, ensures consistent warmth throughout the home. The vents are readily available in common connection sizes like 1/8″, 1/2″, and 3/4″ to suit various residential plumbing configurations, offering a simple and cost-effective solution for maintaining heating efficiency.
Commercial Heating Systems
Manual air vents play a vital role in maintaining the efficiency of large-scale commercial heating systems. These systems, often more complex than residential setups, are prone to significant air accumulation due to their size and extensive piping networks. Air pockets can severely reduce heat output and increase energy consumption, impacting operational costs.
Regularly bleeding air via manual vents is essential for optimal performance. Commercial buildings often require a scheduled maintenance routine that includes inspecting and operating these vents. The availability of various connection sizes (1/8″, 1/2″, 3/4″) ensures compatibility with diverse commercial plumbing infrastructure. Consistent air removal contributes to a comfortable environment and minimizes potential system failures.
Solar Heating Systems
Manual air vents are crucial components within closed-circuit solar heating systems, effectively addressing the challenge of air accumulation within the fluid. Air trapped in these systems drastically reduces efficiency, hindering the transfer of solar-generated heat. Utilizing manual vents allows for the controlled release of this air, optimizing system performance and maximizing energy capture.
Automatic air vents are also used, but manual options provide a valuable backup and allow for precise control during initial system startup or after maintenance. The vents, available in brass or plastic, ensure durability and compatibility. Regular bleeding, facilitated by manual vents, maintains optimal heat transfer and prolongs the lifespan of the solar heating infrastructure.
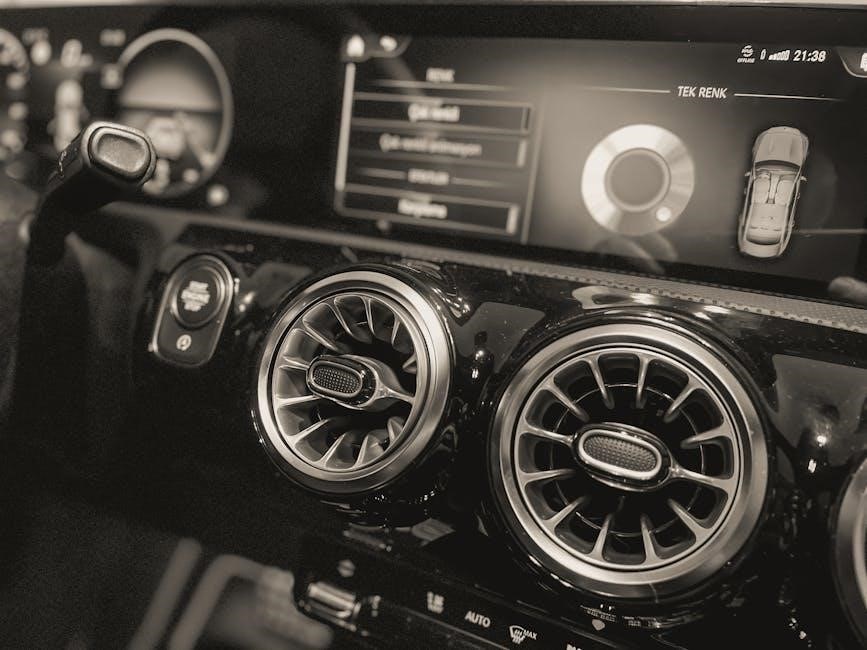
Automotive Air Conditioning (DIY Rear Vents)
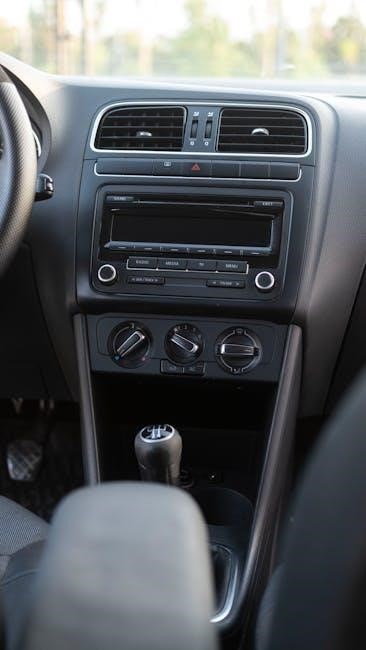
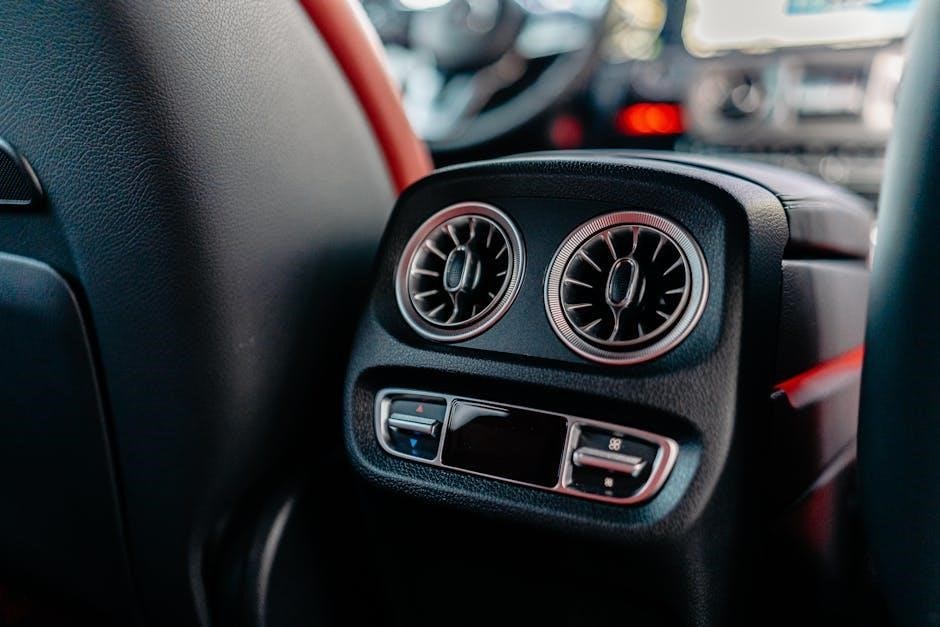
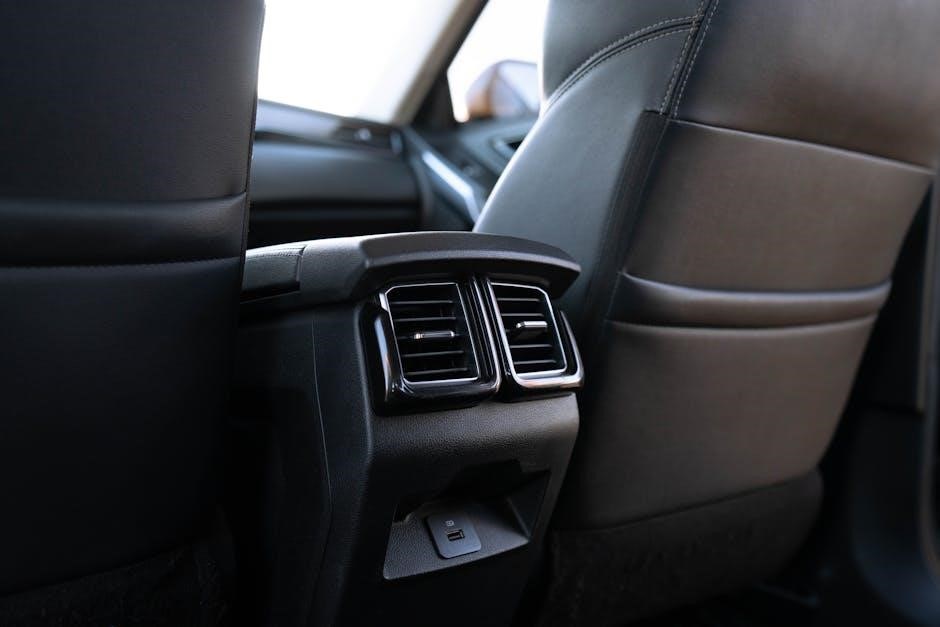
Manual air vents play a role in DIY automotive air conditioning modifications, specifically when installing supplementary rear vents for enhanced passenger comfort. These projects often involve adding extra vents and hose systems to distribute cooled air more effectively throughout the vehicle’s cabin. While not directly part of the core AC system, strategically placed manual vents can aid in directing airflow to rear passengers.
The documentation details installing rear AC vents in a car, utilizing supplementary components. Though typically associated with hydronic heating, the principle of air release applies – ensuring smooth airflow through the added system. Careful planning and secure connections are vital for a successful DIY installation.

Installation of Manual Air Vents
Proper installation requires selecting the correct vent location, preparing pipework, threading and sealing connections, and ensuring correct orientation for optimal air release.
Choosing the Correct Vent Location
Strategic placement of manual air vents is crucial for effective air removal within hydronic systems. Vents should be installed at the highest points of the piping network, as air naturally rises and accumulates in these areas. Consider locations immediately before circulating pumps and after any points where water flow might experience turbulence, creating air pockets.
Prioritize areas with long horizontal runs of piping, as these are prone to air collection. Ensure vents are accessible for easy manual operation and maintenance. Avoid installing vents directly downstream of elbows or fittings where air might be momentarily trapped, hindering immediate release. Proper location maximizes efficiency and minimizes the need for frequent bleeding, contributing to a consistently performing heating or cooling system.
Preparing the Pipework
Prior to installation, meticulous pipework preparation is essential for a secure and leak-proof connection of manual air vents. Ensure the pipe ends are clean, free from burrs, and properly threaded to match the vent’s connection size – commonly 1/8”, 1/2”, or 3/4” . Deburring removes sharp edges that could damage the vent’s seal during installation.
Inspect threads for any imperfections; chasing the threads with a tap can rectify minor issues. Clean the pipe threads thoroughly to remove any debris or manufacturing residue. Applying a suitable thread sealant, compatible with the system fluid, is vital to prevent leaks. Avoid excessive sealant, as it can enter the vent and impede its function. Careful preparation guarantees a lasting, reliable installation.
Threading and Sealing Connections
Proper threading is paramount when installing manual air vents, ensuring a robust and leak-free seal. Utilize appropriate threading tools for the pipe material, creating clean, consistent threads that align perfectly with the vent’s connection. Following thread creation, apply a high-quality thread sealant specifically designed for hydronic systems.
This sealant prevents water leakage while remaining compatible with system fluids. Avoid over-tightening, as this can damage the vent body or strip the threads. Hand-tighten initially, then use a wrench for a quarter to half turn beyond hand-tight. Regularly inspect connections for any signs of leakage after installation and system pressurization, re-tightening if necessary.
Proper Orientation for Air Release
Optimal orientation is crucial for effective air release with manual vents. Install vents at the highest points of the hydronic system or specific circuit branches, as air naturally rises. Vertical installation, with the vent cap facing upwards, is generally recommended to facilitate unobstructed air expulsion.
Avoid positioning vents in areas prone to water hammer or excessive vibration, which could damage the valve. Ensure sufficient clearance around the vent for easy access during bleeding operations. Consider the flow direction; vents should be placed after any potential air traps. Proper orientation maximizes efficiency and minimizes the need for frequent bleeding.

Operation and Maintenance
Regular maintenance, including manual bleeding, is vital for optimal performance; inspect vents for leaks and corrosion to ensure continued efficient air removal.
How to Manually Bleed Air from a System
To manually bleed air from a hydronic system using a manual air vent, begin by ensuring the system is running and warm, but not excessively hot. Locate the manual air vents, typically positioned at high points in the piping where air accumulates. Using a suitable tool – often a small key or screwdriver designed for the vent – slowly open the vent valve.
Listen for the hissing sound of escaping air. Allow air to vent until only water emerges, indicating all trapped air has been released. Carefully close the valve, avoiding over-tightening which could damage the vent. Repeat this process for all manual air vents in the system, working from the furthest points from the boiler. This ensures complete air removal and optimal system efficiency. Remember safety precautions regarding hot surfaces and system pressure.
Frequency of Bleeding
The frequency of bleeding a hydronic system with manual air vents depends on several factors, including system age, pipework configuration, and water quality. Newly installed systems often require frequent bleeding – perhaps weekly – as air is introduced during initial filling.
Established systems generally need bleeding less often, typically at the start of each heating season. However, if you notice reduced heating performance, cold spots on radiators, or unusual noises like gurgling, it’s a sign air is present and bleeding is necessary. Regular inspection and proactive bleeding contribute to optimal system efficiency and prevent potential issues. Monitor your system and adjust the frequency accordingly.
Inspecting for Leaks
Regularly inspecting manual air vents for leaks is crucial for maintaining system efficiency and preventing water damage. Examine the vent body, particularly around the threaded connection and the valve mechanism, for any signs of dripping or moisture. A leaking vent indicates a compromised seal, potentially due to corrosion, damage, or improper installation.
Even small leaks can lead to significant water loss over time. If a leak is detected, tighten the connection carefully, but avoid over-tightening, which could cause further damage. If tightening doesn’t resolve the issue, replace the vent promptly to restore optimal performance and prevent costly repairs.
Cleaning and Maintenance Procedures
Routine cleaning and maintenance extend the lifespan and ensure the reliable operation of manual air vents. While generally low-maintenance, periodic inspection for corrosion or debris buildup is recommended. If visible corrosion exists, consider replacing the vent, as corrosion compromises its functionality. Gently wipe the exterior of the vent with a damp cloth to remove dust and grime.
Avoid using abrasive cleaners or solvents, as these can damage the vent’s materials. For vents in harsh environments, a protective coating might be beneficial. Ensure the vent operates smoothly during bleeding; any stiffness suggests potential internal issues requiring replacement.
Troubleshooting Common Issues
Common problems include vents failing to release air, leaking water, or exhibiting corrosion and damage; addressing these promptly maintains system efficiency and prevents further issues.
Vent Not Releasing Air
If a manual air vent isn’t releasing air, several factors could be at play. First, ensure the system is adequately pressurized; insufficient pressure prevents air from reaching the vent. Secondly, verify the vent isn’t blocked by debris or scale buildup – cleaning may be necessary.
A partially closed vent valve is another common culprit; fully open it to allow air passage. Consider the vent’s location; if positioned too low in the system, it might not encounter trapped air. Finally, a faulty vent mechanism, particularly a deteriorated silicone obturator, can hinder air release, necessitating replacement. Thoroughly investigate each possibility to restore proper venting function and system efficiency.
Vent Leaking Water
Water leaking from a manual air vent typically indicates a problem with the vent’s internal sealing mechanism. A common cause is a damaged or deteriorated silicone rubber obturator, which prevents a tight shut-off when air bleeding is complete. Excessive system pressure can also force water past the seal, highlighting the importance of maintaining proper pressure levels.
Improperly tightened connections or damaged threads can create leak paths. Carefully inspect the vent’s threading and ensure it’s securely sealed. In some cases, corrosion can compromise the vent body, leading to leaks; replacement is then necessary. Addressing these issues promptly prevents water damage and maintains system efficiency.
Corrosion and Damage
Corrosion and physical damage significantly impact the functionality of manual air vents. Exposure to dissimilar metals within the hydronic system can accelerate galvanic corrosion, particularly affecting brass-bodied vents. This weakens the vent body, potentially leading to leaks or complete failure. Physical impacts during installation or maintenance can also cause cracks or deformities.
Regular inspection is crucial to identify signs of corrosion, such as discoloration or pitting. Damaged vents must be replaced immediately to prevent system contamination and maintain efficient air removal. Choosing vents with anti-corrosion features and careful handling during installation can minimize these issues, extending the vent’s lifespan.
Safety Precautions
Always consider system pressure and hot surfaces when working with manual air vents; utilize proper tools to avoid damage or injury during operation.

System Pressure Considerations
Before attempting to operate any manual air vent, a thorough understanding of the hydronic system’s operating pressure is crucial for safety and effectiveness. Never open a manual vent on a system that is under excessive pressure, as this could result in a forceful and potentially dangerous release of hot water or steam. Always ensure the system is appropriately depressurized, or that the vent is opened slowly to control the release.
Furthermore, be aware that some systems utilize pressure relief valves; familiarize yourself with their location and function. Regularly inspect the system for pressure gauge accuracy. Ignoring pressure considerations can lead to scalding injuries, equipment damage, and inefficient system performance. Prioritize safety by verifying pressure levels before any maintenance or bleeding procedures are initiated.
Hot Surface Warnings
Manual air vents, particularly those installed on hydronic heating systems, can become extremely hot during operation. The vent body, especially those constructed of brass, readily conducts heat from the circulating water or steam. Avoid direct contact with the vent’s exterior surface while the system is running, as severe burns can occur.
Always allow sufficient cooling time before attempting any inspection, maintenance, or bleeding procedures. Use appropriate protective gear, such as gloves or insulated tools, to minimize the risk of contact with hot surfaces. Clearly label vents as potentially hot to warn others. Prioritize personal safety and exercise caution when working near these components to prevent accidental injuries.

Proper Tool Usage
Manual air vents require careful handling during installation and maintenance. Utilize appropriately sized wrenches to avoid damaging the vent body or threaded connections. Over-tightening can lead to leaks or stripped threads, while insufficient tightening may result in air ingress.
When bleeding air, employ a small screwdriver or dedicated vent key designed for the vent’s mechanism. Avoid using excessive force, as this can damage the internal components. Ensure tools are clean and in good working condition. Always refer to the manufacturer’s instructions for specific tool recommendations and torque specifications to guarantee a secure and functional installation.
Comparing Manual Vents with Google Maps Features (Contextual Relevance)
Google Maps aids service technicians in locating job sites and suppliers for manual air vents, optimizing routes and ensuring timely installations and repairs.
Using Google Maps for Service Technician Location
Google Maps proves invaluable for service technicians tasked with installing or maintaining manual air vents in diverse locations; Its precise mapping capabilities enable quick and accurate pinpointing of customer addresses, minimizing travel time and maximizing service calls completed per day. Technicians can leverage real-time traffic data to avoid congestion, selecting the most efficient routes.
Furthermore, Google Maps’ location sharing features (with appropriate permissions) can facilitate communication between dispatchers and technicians, providing updates on estimated arrival times and potential delays. The ability to search for nearby businesses, like plumbing supply stores carrying manual air vents, directly within the app is a significant time-saver. This streamlines the process of acquiring necessary replacement parts or specialized tools on-site, reducing downtime and improving customer satisfaction.
Google Maps for Route Planning to Installation Sites
Google Maps dramatically simplifies route planning for technicians installing manual air vents, especially when facing multiple job sites throughout the day. The platform offers several route options, highlighting the fastest and most efficient paths based on current traffic conditions. Users can add multiple stops, optimizing the sequence to minimize overall travel distance and fuel consumption.
Detailed street views allow technicians to visually familiarize themselves with the installation site beforehand, identifying potential access challenges or parking limitations. Integration with calendar applications ensures seamless scheduling and navigation. Google Maps also provides estimated travel times for each leg of the journey, enabling accurate appointment scheduling and proactive communication with clients regarding arrival expectations. This contributes to a professional service experience and efficient manual air vent installations.
Locating Suppliers via Google Maps Search
Google Maps serves as a powerful tool for quickly locating suppliers of manual air vents, offering a geographically-based search functionality. Simply entering keywords like “HVAC suppliers,” “plumbing supplies,” or specifically “manual air vents” reveals nearby businesses on an interactive map. Detailed business listings provide addresses, phone numbers, operating hours, and often, website links for convenient access to product catalogs and pricing.
User reviews and ratings offer valuable insights into supplier reliability and customer service. Google Maps also displays photos of storefronts, aiding in identification. The platform’s integration with Google Search allows for filtering results based on specific criteria, such as those offering same-day delivery or specialized manual air vent types. This streamlines the procurement process, saving time and ensuring access to necessary components.